-
Sewing Patterns
-
Fabric
- Sewing Supplies
- About
- Blog
- Gallery
-
April 25, 2024
By Esi Hutchinson
Ahoy! Welcome to Part 2 of making the 229 Sailor Pants into a Sailor Skirt (find the pattern here or the PDF if you want it sooner). And learn about how I started hacking this pattern into a skirt, read Making a Skirt from the 229 Sailor Pants: Part 1. Plus, if you need any other tips on adjustments or making the 229 Sailor Pants in general refer to these blog posts. Fitting Adjustments and 229 Sew Along. In this short blog post I will show you how I finished the Skirt.
This pattern suggests to use medium to heavy weight woven fabrics such as wool melton, denim, twill, cotton duck, linen, flannel, light to medium weight canvas. (Check out our fabric selection here). I used medium weight denim for this skirt.
Since there are just a few lining pieces (and they are fairly small), I would suggest using some scrap fabric if you don't mind the linings not matching your outer fabric. A lighter weight fabric can be used for the lining pieces, such as poplin, broadcloth, silk habotai, or even muslin. I used a fun poplin with an insect print for my lining pieces (pockets and waistband curtain pieces).
To make the pants into a skirt, use the instructions given for 229 Sailor Pants except for when you sew the crotch seam in the front and back of course. But, there are a few other steps mostly covered in the previous post.
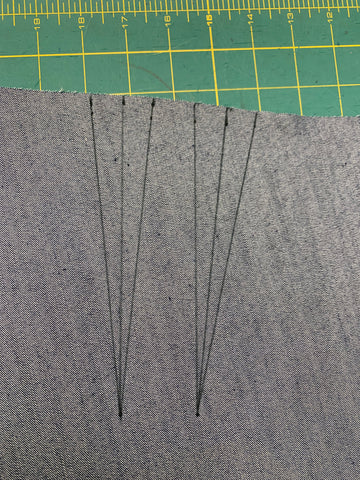
I started by sewing my darts in the back.
Then with right sides together, I matched the notches at Center Front of the skirt and stitched from the top edge to the bottom edge of the skirt. I finished the seams and pressed them open.

I didn't use the back gusset, so I made the waistband and waistband curtain long enough to fit the circumference of the skirt waistline (from center front to center back, cutting 2 of each).
I continued using instructions to assemble the coin and welt pockets, waistband pieces, buttonhole facings, and front dart gusset. If you are using the back gusset with eyelets, of course, you should follow the instructions given in the pattern.
Since I added a slit in the back, I stitched the center back together (including the waistband and waistband curtain) to the dot where I wanted my slit to start. I finished the raw edges like so, and folded the waistband curtain down over the waistband.
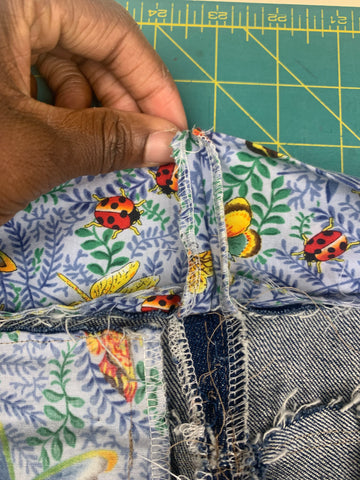
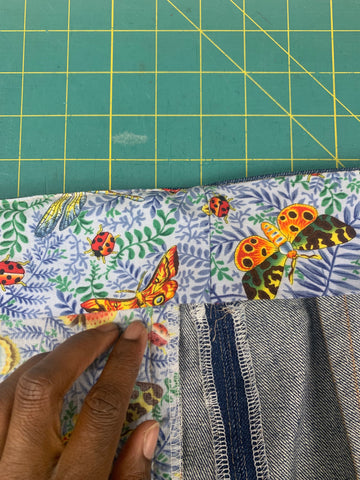

To finish the slit, I clipped the seam to the dot on each side.
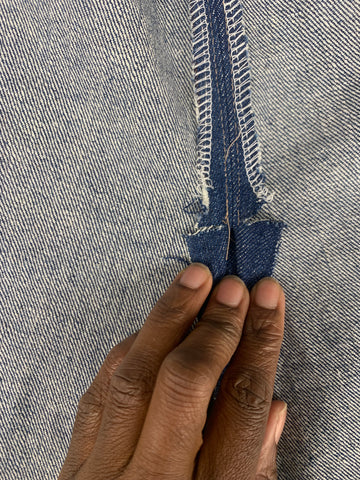
I folded under 1/4" (6mm) and then 1/2" (13mm) on either side of the slit. Note that when I modified this pattern to make the skirt, I added an extra 1/4" (6mm) to the skirt for this vent slit.
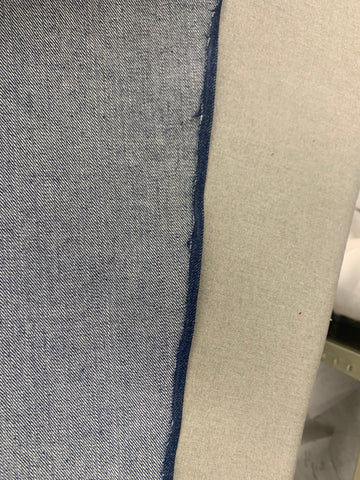
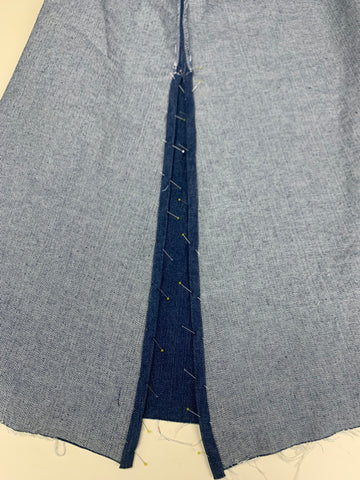
I then topstitched close to the folded edge up from one side, across where the slit starts and backdown to the other side. I also added topstitching where I wanted it to be on my skirt (mostly everywhere the pattern suggests having topstitching).
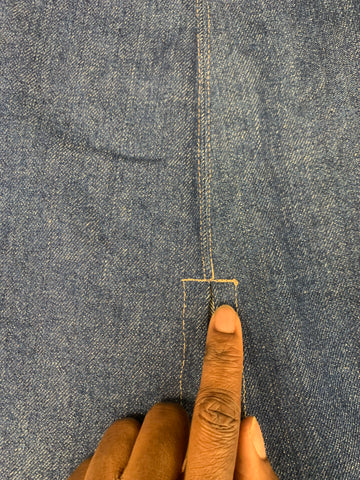
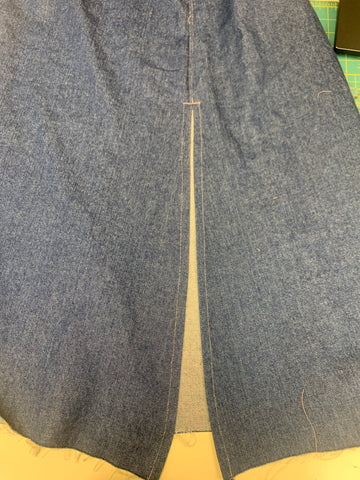
I then hemmed the skirt folding under 1/2" (13mm) then 1" (2.5cm), and topstitched close to the folded edge. I sewed the buttonholes, added the buttons and I was finished!
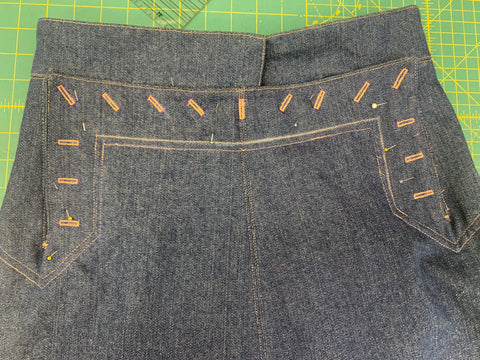
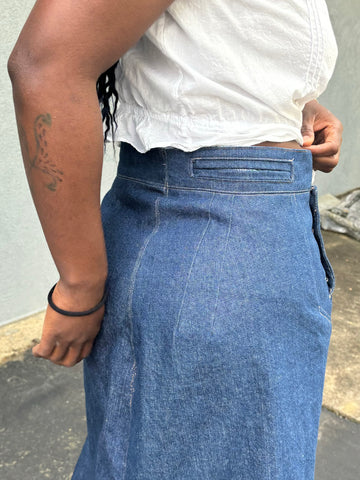
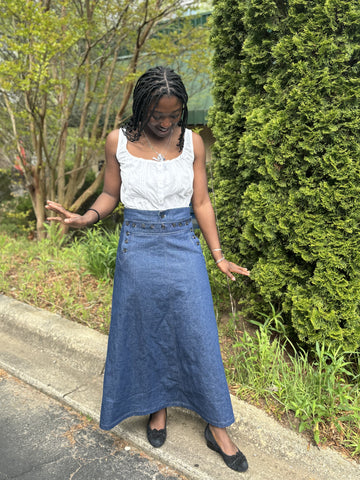
Voila! Here is the Sailor Skirt!
I love this idea, and the fact you basically get to use the same instructions is great. You can make the skirt any length with any of the suggested fabric options. It's a versatile skirt in my opinion -- dress it up or dress it casually, this pattern is awesome! Please show us what you make from this pattern whether it's the skirt or the pants, we would love to see it!
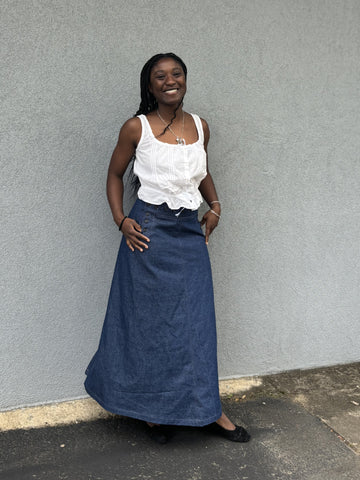
Showing off here with the 203 Edwardian Underthings camisole pattern!
