-
Sewing Patterns
-
Fabric
- Sewing Supplies
- About
- Blog
- Gallery
-
September 12, 2022 2 Comments
by Esi Hutchinson
Even though most of our patterns are for clothing, I love that Folkwear, also has some patterns for traditional interior accessories. The 305 A Japanese Interior pattern covers twelve different items for a traditional Japanese room but can be used in a distinctive living space anywhere. There are pillows as well as well as covers for pillows, mats, a sleeping kimono, and a set of curtains (noren). I think it is really neat Folkwear has a pattern such as this one, to a handmake a comfortable space for you, family, or friends.
The 305 A Japanese Interior pattern has two patterns and instructions for two head pillows, or makura. Pillow #1 is quite simple, so I wanted to make pillow #2. This blog post will focus on the Makura pillow #2 and cover - a sew along with some sewing tips. It is an oblong pillow with a cover that can easily be removed so it can be washed or changed out. Just to get a sense of the size of this pillow, it is a small pillow, nice for the back of the neck or for your lower back. It is about 11"/28cm long and 15"/38cm in diameter. if you want it larger use your best judgement for adjustments for the pillow and cover.
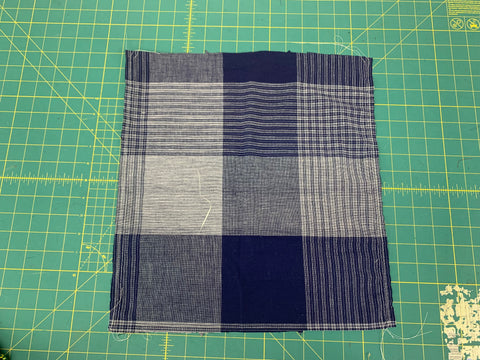
I used the same fabric for the pillow and cover, but you could choose separate, coordinating fabrics. I chose a mid-weight cotton with a plaid-like pattern.
Pillow
You only need a few pattern pieces for this pillow.

I gathered the long edges of the main pattern piece.

Then, fold the pillow piece in half lengthwise, right sides together and stitch along short sides, locking off at notches and leaving open between notches for turning. Press seam open.

Pull up gathering stitches of both ends very tightly and tie off. Then using the excess thread from gathering, stitch through the gathered section for added security.

Now just turn the pillow right side out through opening in seam. Insert batting to desired firmness. You can also use your leftover scraps of fabric (really great for upcycling all those small bits of fabric) which will make it feel a lot firmer. A firmer pillow is more traditional. Then after you've filled your pillow, blind stitch opening closed.


Cover for Makura Pillow #2
The cover for this pillow has a ruffle, but this is a Western-influenced style. If you would like a more simple, or traditional, cover, just omit the ruffle.
To make the ruffle, press under ¼"/6mm, then another ¼"/6mm on both short ends and unnotched long edge of Ruffle. Topstitch close to fold.

Then, put in two rows gathering stitches along Gathering Lines on notched edge of ruffle.
On both short edges of Cover, turn under ¼"/6mm, then another ¼"/6mm. Top stitch close to fold.

Right sides together, line up seam allowances of Ruffle to long edge of Cover, aligning hemmed edges and notch 2. Pull up gathers to evenly distribute fullness.
Stitch along ½"/13mm seam allowance. Trim the seam allowances and serge or bind them your choice. I serged the edge because it is easier and quicker, but choose the finish you prefer.

If you are not making the Ruffle: On all four edges of COVER L, turn under ¼ in.(6mm), then another ¼ in. (6mm). Topstitch close to fold.
Ties
To make the ties, fold the Tie in half lengthwise, right side in. Using ¼"/6mm seam allowance, stitch along long edge.

Using a safety pin or a loop turner, turn Tie right side out. Cut each tie into three equal lengths. Turn ¼"/6mm of cut ends of Tie to the inside. Topstitch ends closed.

Line up three Ties with stars, extending Ties about ½"/13mm under hemmed edge of Cover. Topstitch in place, following previous stitching line.

Place other three TIES on dotted squares, stitch in place following squares.

To use the cover, center it on the pillow and knot the ties around the pillow.
You are finished, enjoy!
Folkwear would love to see your example of any of the 305 interior items. I may make a couple of pillows as gifts. Also check out the the sashiko quilting and shibori dyeing techniques included in this pattern. They are quite interesting as embellishments in general.


September 29, 2022
I love the little demo ! Thank you 😊 G.

Neobest Mattress
July 08, 2023
Thank you for sharing, useful information keep on sharing.