-
Sewing Patterns
-
Fabric
- Sewing Supplies
- About
- Blog
- Gallery
-
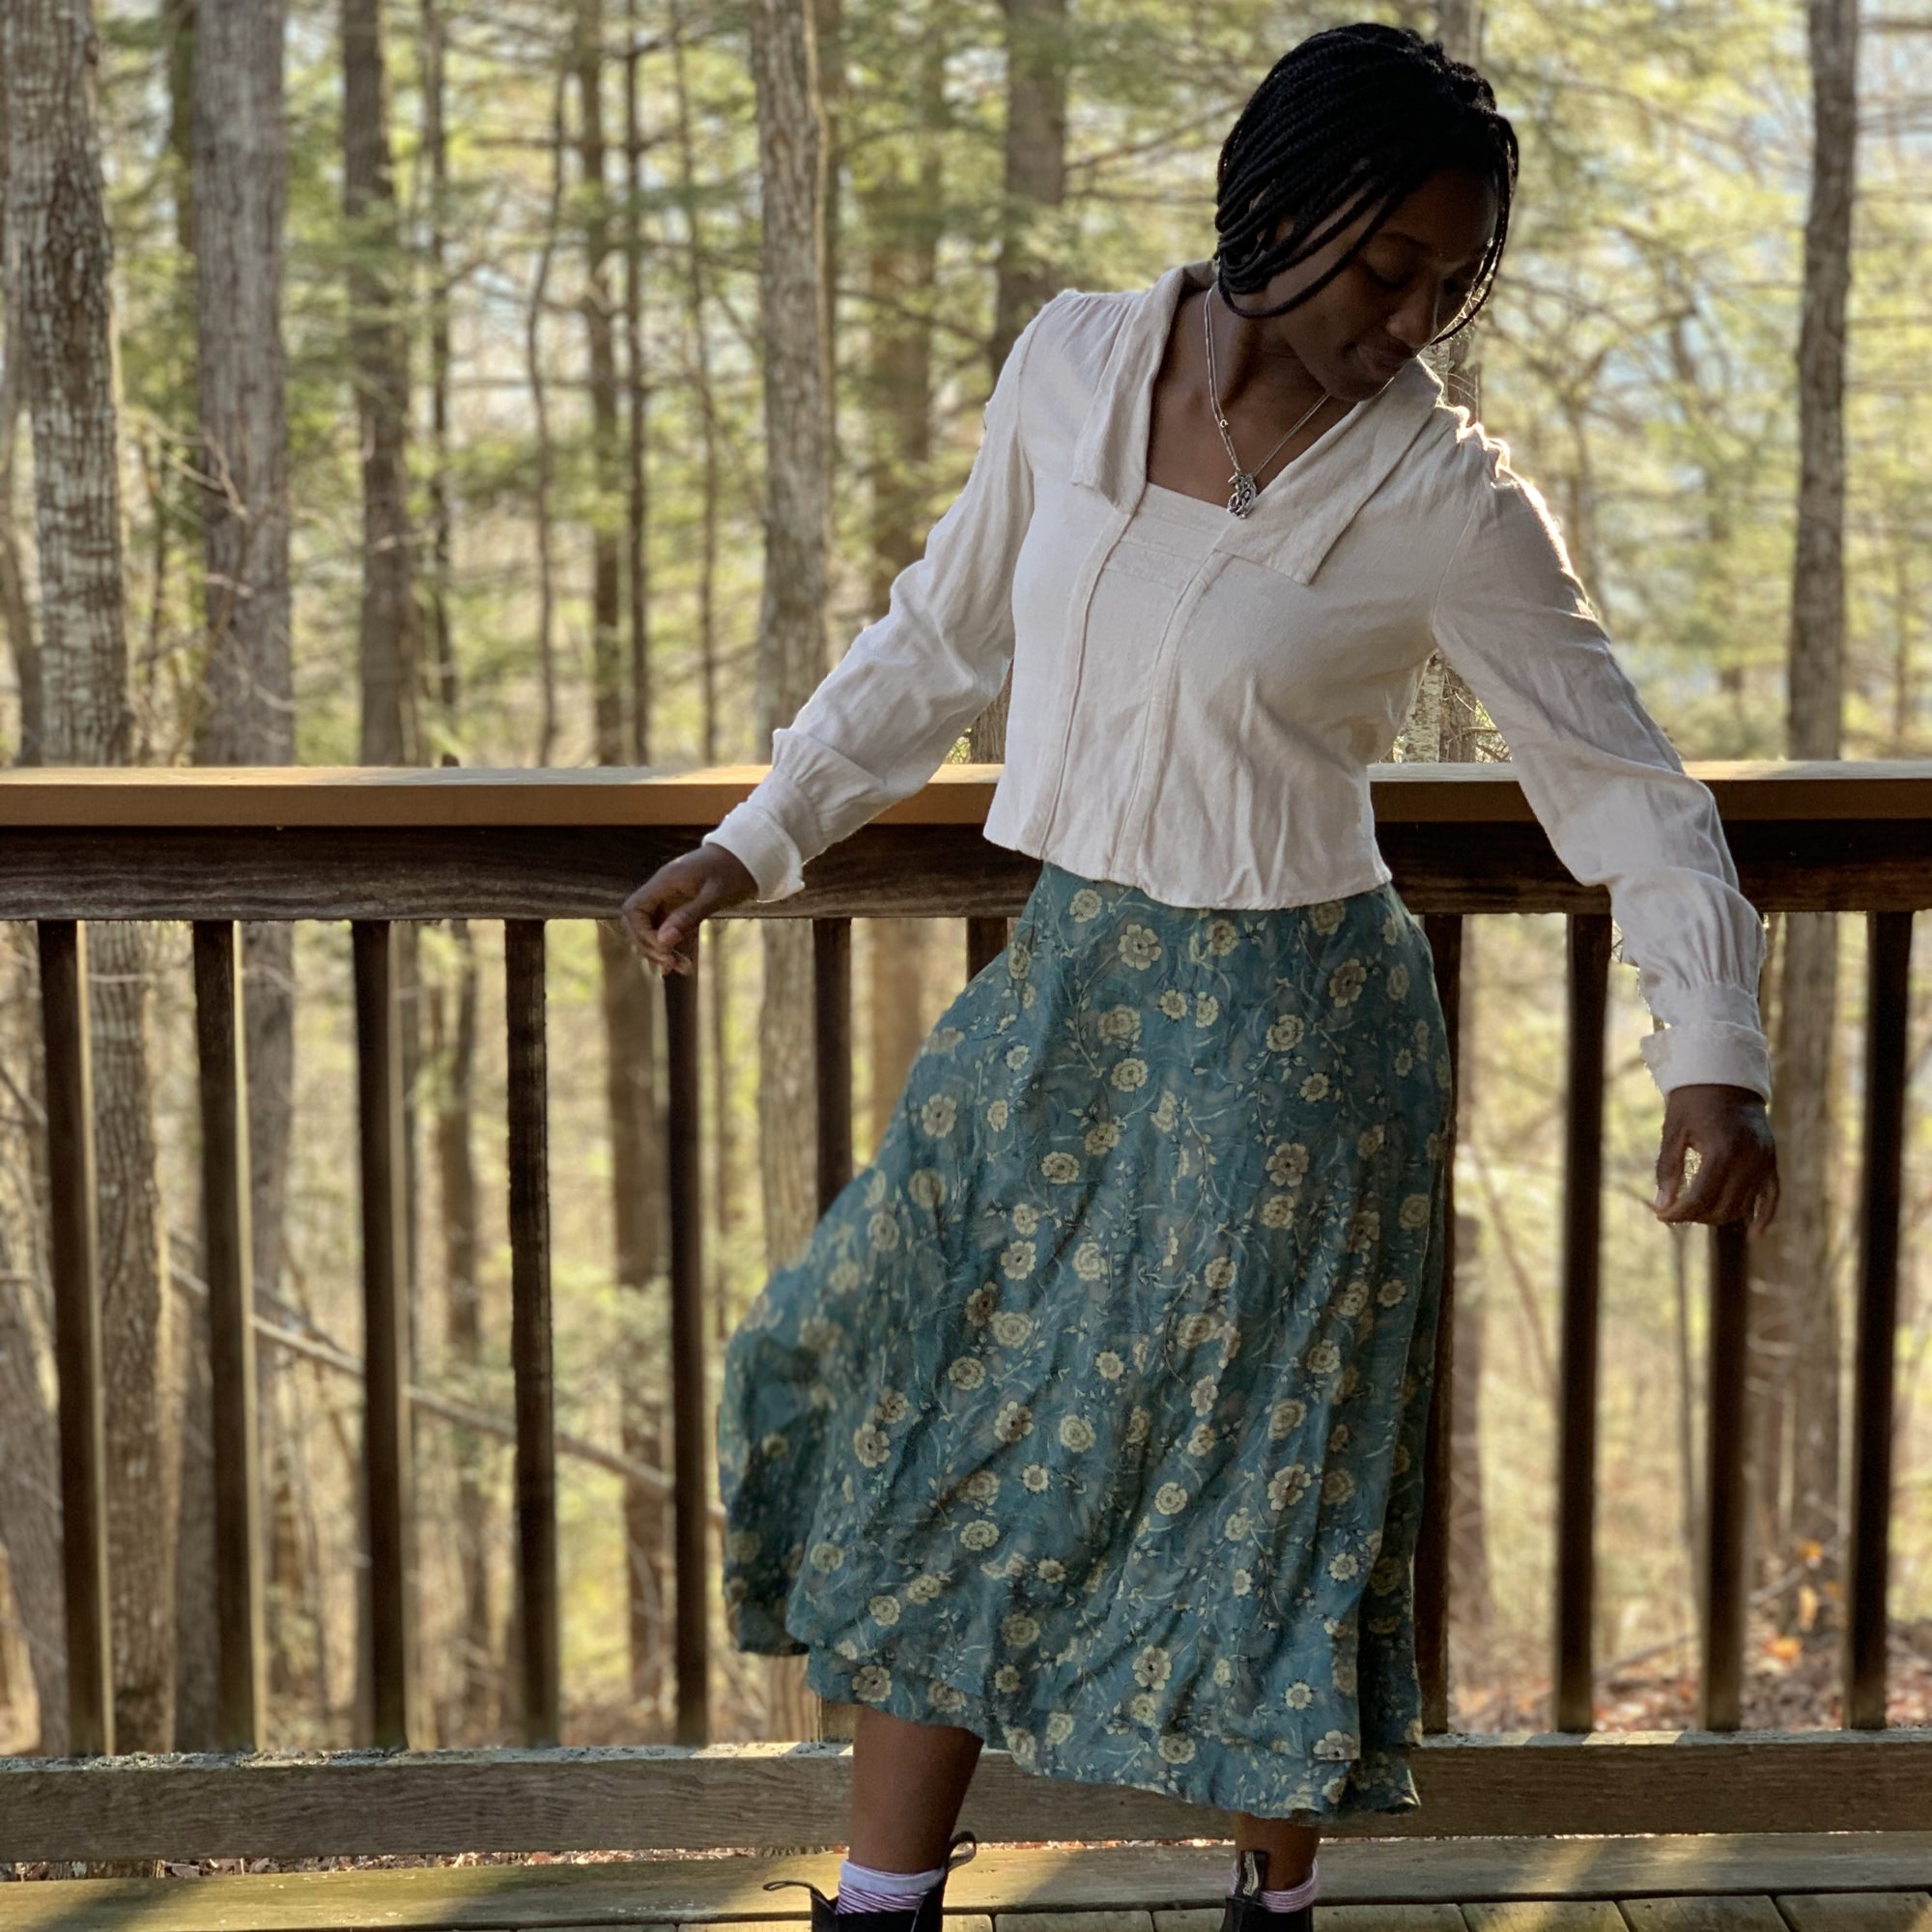
By Esi Hutchinson
If you read my previous blog post, I wrote about the sizing adjustments I made for my own 209 Walking Skirt. I also wrote a tutorial on how to make the back placket of this skirt, since plackets can be tricky. In today's post I am going to show you what other modifications I made to my skirt as well as some things you can do when making your own Walking Skirt. I added a zipper and a decorative hem flounce. Again I think this skirt would be flattering on everyone, and we always love to see what you make from Folkwear so please share when you can (social media or review a pattern).
Adding a Zipper
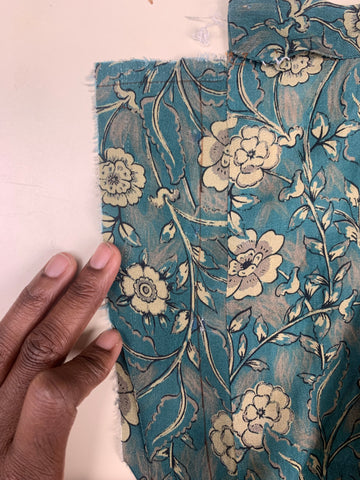
The back placket of 209 Walking Skirt is perfect for medium to heavy weight fabrics and fabrics with some structure, but I wanted to make my skirt from a lightweight rayon. This floral rayon did not have the structure to hold up to a simple placket and stay closed. I loved the feel of this fabric and the colors work really together in my opinion. I really wanted to use this fabric for this pattern, however I decided that for a fabric like this, a zipper would work much better as a closure. I made a sample placket on the skirt to test it, but, as expected, it turned out to be floppy and didn't keep closed even with a hook and eye closure secured at the top. So even if you have the placket, it is easy to add a zipper closing in the placket placement. It is basically a lapped zipper.
I unpicked the waistband seams about 3 inches on both the left and right side of the skirt (it's always a drag to have to unpick your seams).
Starting with the lefthand side of the back of the skirt (as you wear it), I unpicked the folded over edge of the facing that I topstitched to the right side of the back and pressed it out. The length of my placket was 9" (22.9cm) long. I purchased a zipper slightly longer than that just in case I needed more room. Once I decided I only needed 9", I made a couple of large zig-zag stitches to make a new zipper stop about 9" (22.9cm) down from the top of the zipper.
I drew a line 5/8" (1.6cm) away from the seamline of the facing and the skirt back and a line 1/2" (1.3cm) from the top short edge of the facing (lefthand side of skirt).
I placed the right side of the zipper tape onto the right side of the facing. The top of the zipper should be right below the 1/2" (1.3cm) line and center of zipper teeth should be right next to the line I just drew that is 5/8" (1.6cm) from the seamline. I sewed the zipper to the facing using a zipper foot. I stitched twice - once close to the zipper teeth then again close to the edge of the zipper tape.


Then I pressed under 1/2" (1.6cm) of the raw edge. And I pressed the facing to the wrong side of the skirt along the facing and skirt seamline. I topstitched on the folded edge through all layers.

Next I sewed the left side of the zipper to the placket on the righthand side (as you wear it) of back skirt. First, I zipped up the zipper and see where the edge of the left side of the zipper tape would meet the placket and drew a line to indicate where I would sew this side of the zipper.
I put the zipper stop 1/2" (1.6cm) below the top of the placket before stitching the zipper down.

I then attached the waistband and added hook and eye to secure the waistband. You could add a button or snap instead.

It looks like a zipper that you would see on a pair of pants - similar to a fly, but much simpler.

You could also eliminate the placket all together and sew in an invisible or lapped zipper, cutting the skirt back straight at the center back and eliminating the placket and facing pieces. Or, you can add the zipper into the placket while you are making the skirt!
Decorative Hem
I also added a decorative hem flounce to my skirt. The fabric I chose moves so beautifully, it's bouncy and flows really nicely, and the decorative hem I made adds to its character even more. The extra weight at the hem adds great movement.
I wanted my decorative hem flounce to be 4" (10.2cm) wide, and to end 2" (5.1cm) above the main skirt hem.
My hem flounce pattern piece would need to be 4" wide, but also needs 1/2" (1.6cm) at the top to fold over and be topstitched to the skirt. And, the flounce would also need an extra 1" (2.5cm) at the bottom edge so that it could be hemmed (turned under 1/2" twice - same as the hem of the main skirt).
I used the same 209 Walking Skirt pattern pieces to make my hem flounce pattern pieces so that it would match the skirt. Basically cutting a strip from each skirt gore pattern piece to make the flounce so it fit the skirt. First, on the skirt pattern pieces I marked a line 2" (5.1cm) above the bottom cut line of the skirt pattern pieces. This is where my flounce piece would end before it is hemmed. Then I marked a line that was 5.5" (14cm) above that (4" for flounce, plus 1" for the hem and 1/2" for the seam allowance).

Measuring up 2" (5.1cm) from the cutting line of the skirt hem takes into account the skirt hem will be 1" (2.5cm), and the flounce hem will be 1" (2.5cm) so it will still finish at 2" (5.1cm) above the finished skirt hem.
I did that for all the skirt pieces, making sure to add the notches (or label the pieces) to know what part of the skirt gores they match to. I cut the pieces out as I did for the main skirt and sewed them together in the same way - sewing them end to end.


I hemmed the bottom of the hem flounce by folding under 1/2" (13mm) and another 1/2" (13mm) and stitching near the fold. I serged the top raw edge of the hem flounce because the fabric frayed a bit, and then I folded under 1/2" (13mm) to the wrong side at the top of the flounce.

I drew a continuous line 6" (15.2cm) above the hem of the main skirt around the whole skirt for my placement line (4" for width of flounce and 2" above the skirt hem line). I topstitched the flounce to the skirt at its top edge with the wrong side toward the skirt.


JackeRose
March 18, 2024
Great Idea and very good instructions, thankyou!