-
Sewing Patterns
-
Fabric
- Sewing Supplies
- About
- Blog
- Gallery
-

by Victoria Watkins
When I was developing the cover illustrations for our Basics line, I tried on a sample of each and took a photo of myself wearing them to have a reference to draw from. When it came time to document our tunic, I was enamored with the fit and drape. As such, I was thrilled when Molly asked me to do a sew-along with our tunic pattern with permission to keep the end result for myself.
If you've read any of my fabric suggestion blogs before, you might've noticed that I always want to sneak in a playful, bold fabric. I am a fiend for a loud print, so when I saw this exciting cotton voile from Mood Fabrics, I knew it was perfect for this project. In my view, something airy with a gentle drape would be elegant with this pattern.
Cutting out the pattern:
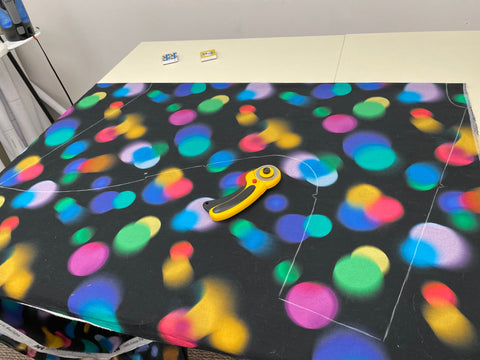
This pattern only has three pattern pieces - the front/back and the facings. All are cut on the fold of fabric. You should choose a fabric that is wide enough to fit the size you need.
I tend to trace the pattern with tailor chalk onto the fabric before cutting it out. This allows me to see the fabric and the print when I am cutting without paper being in the way.
One trick I've picked up since I've started sewing more often is my way of marking notches in the cut fabric pieces. Before, I'd cut the notches outward as little triangles just like the pattern pieces, but now I make a small snip within the seam allowance to mark my notch. I find this so much easier to do, though it does take a keen eye to keep track of them all! And it may not be the best choice for certain fabrics.


 Applying interfacing to the facings.
Clipping the seam/hem allowance so I could turn the edges.
Once that's done, it's time to sew the facing to the neck. First, I sewed around the curve of the neck, then sewed the back facing along the slit with the guidelines which I sewed earlier. Once that's done, I slashed along the slash line as marked in the pattern, and then trimmed the seams and cut into the corners of the bottom of the slit carefully but thoroughly so it would sit nicely when flipped around. I pressed carefully and well after flipping the facing to the wrong side. You could understitch the facing at this point as well. That will help keep the facing to the inside of the tunic.


I'm very pleased with the finished product, and I'm very grateful to get to keep it for myself. I think it's one example of how fabric choice can really elevate these simple patterns!


Molly Hamilton
May 16, 2022
Hi Lisa. You can shorten this tunic at the side notches. Fold out half of the length you want to shorten it. Then you will need to true the lines to get a smooth line between the folded out/shortened section.